


Overhead Crane Runway Inspection, Maintenance & Retrofit: How to Extend Aging Runway Life by 10 Years
Introduction
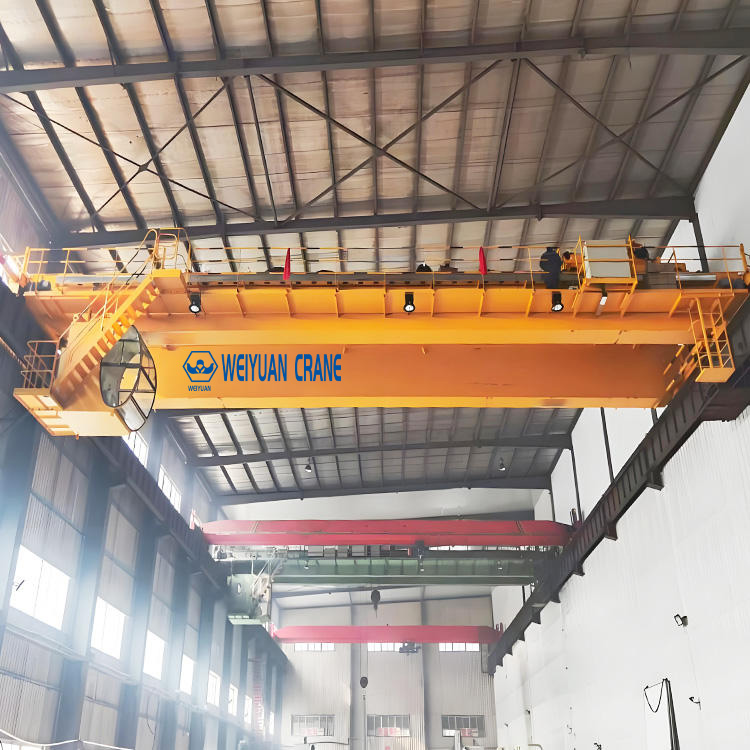
Most runways do not die in an accident. They die slowly, and quietly, over the years nobody was watching.
A rail head wears down a millimetre at a time. A clip loosens a quarter turn a month. A hairline crack opens at a weld toe and grows a few microns with every crane pass. None of it is visible from the floor, and none of it triggers an alarm. So the runway keeps working, the crane keeps running, and the deterioration compounds — until the day a wheel climbs a rolled rail, a bracket lets go, or an inspector finally looks closely and condemns a beam you could have saved two years earlier.
That delay is the expensive part. A runway problem caught early is a clip tightened, a rail swapped, a shim reset — a few hundred dollars and a planned shutdown. The same problem ignored becomes a beam reinforcement, a wheel-replacement cycle, or a full runway replacement with the crane out of service for a week. The cost does not rise gradually as you wait. It jumps, in steps, each time a small fault turns into the failure it was heading toward.
The good news for a procurement or facilities manager is that an aging runway is one of the most cost-effective assets you can protect. A well-run inspection and maintenance program, plus the right retrofit at the right moment, routinely adds ten or more years to a runway that would otherwise have been scrapped — for a fraction of the replacement cost. This final article in the series shows you how: what to inspect and measure, how to read the deterioration you find, which maintenance tasks to schedule by duty class, and how to decide — with numbers — whether to retrofit or replace.
Part 1: Inspection Checklist for In-Service Runways
An inspection is only useful if it is systematic. Walking the runway and “having a look” catches the obvious and misses the dangerous. The faults that end a runway’s life hide in measurements, not in appearances. Split every inspection into two layers: what you can see, and what you have to measure.
The Visual Layer — What to Look For
A trained eye catches most developing problems on a walk-along, provided it knows the signs:
- Rail head condition: look for a bright, polished wear strip, flattening of the rail head, or a lip forming along one edge. Uneven side-to-side wear points to skew or misalignment, not just age.
- Beam and weld condition: scan for rust streaks running from a joint (a sign of a working crack), flaking paint over a seam, and any visible line at a weld toe. Cracks almost always start where the stress concentrates — at welds, holes, and bracket connections.
- Fasteners and clips: look for bright rub marks around bolt heads, witness marks where a clip has shifted, missing nuts, and rust weeping from a joint that should be tight. A loosened fastener usually announces itself with movement marks before it falls out.
- Wheel contact marks on the rail: the rail tells you how the crane is running. A wear band centred on the rail head is healthy. A band pushed to one side, or flange contact marks on the rail’s inner face, means the crane is skewing — a runway geometry problem, not a wheel problem.
- End stops and buffers: confirm they are present, secure, and undamaged, and that the buffer has not been crushed by repeated hard contact.
The Measured Layer — What to Quantify
The measured layer is what turns “looks worn” into a decision. Record every reading so you can trend it over time — a single measurement tells you the condition today, but a series tells you the rate, and the rate is what lets you plan.
- Rail head wear: measure remaining rail head height and width against the original section. Replace when wear reaches the rail manufacturer’s limit — commonly when the head has lost around 15–20% of its original height.
- Rail-to-beam attachment: check clip torque against specification and note any clip that has moved from its witness mark.
- Runway geometry: re-check gauge, straightness, and level with a laser survey (the procedure from Article 2). Drift from the as-installed baseline is the earliest warning of a developing wear problem.
- Weld crack detection: on high-duty runways, use dye-penetrant or magnetic-particle testing at the highest-stress welds and connections, where fatigue cracks start.
The practical takeaway: the visual layer tells you where to look closely; the measured layer tells you what to do about it. Skip the measurements and you are guessing — usually in the direction that costs more later.
Part 2: Deterioration Patterns and Their Causes
Aging runways fail in a handful of recognizable ways. Learn the pattern and you can trace it back to a cause — and fixing the cause is what stops the fault from returning after you repair it.
Corrosion
Rust is the slow killer of outdoor and washdown runways, and of any runway where water collects. It eats section thickness where you cannot see it — inside box profiles, under baseplates, behind brackets — and thinner steel means less strength and less fatigue life.
Cause: trapped moisture, condensation, aggressive atmospheres, and coating breakdown at impact points and weld seams. The tell: rust streaking, flaking coating, and section loss you can measure with an ultrasonic thickness gauge. Corrosion that has removed measurable section thickness is a structural issue, not a cosmetic one.
Fatigue Cracks
A runway does not usually break from one overload. It cracks from millions of small load cycles, each flexing the steel and its welds a little. The higher the duty class and cycle count, the sooner fatigue governs.
Cause: repeated crane passes concentrating stress at welds, bolt holes, and connection details — especially where the original fabrication was not detailed for fatigue. The tell: a fine line at a weld toe, often with a rust stain weeping from it, that grows over successive inspections. A fatigue crack found early can sometimes be arrested; found late, it condemns the member.
Rail Roll
Rail roll is the rail leaning or twisting sideways off vertical under the crane’s lateral forces. Once it starts, the wheel no longer sits square, contact concentrates on one edge, and both rail and wheel wear accelerate.
Cause: loose or inadequate rail clips that no longer hold the rail upright, combined with the crane’s side-thrust. The tell: the rail visibly leaning, one-sided rail head wear, and flange contact marks on the rail’s inner face. Rail roll is often mistaken for a wheel problem — but the fix is at the clips.
Loose Rail Clips and Fasteners
Vibration is relentless. Over years of crane passes it works clips and bolts loose, and a loose clip lets the rail creep, roll, and hammer.
Cause: cyclic vibration, thermal movement, and clips that were never re-torqued after commissioning. The tell: movement witness marks, bright rub patches, and gaps opening at the rail base. This is the cheapest fault to fix and one of the most common — which is exactly why routine re-torquing pays for itself.
The practical takeaway: every one of these patterns shows up eventually as accelerated wear. Wear alone will not tell you which is to blame — the pattern and a survey will. Fix the cause, not just the symptom, or the new rail or new wheels wear out the same way.
Part 3: Planned Maintenance Tasks and Intervals by Duty Class
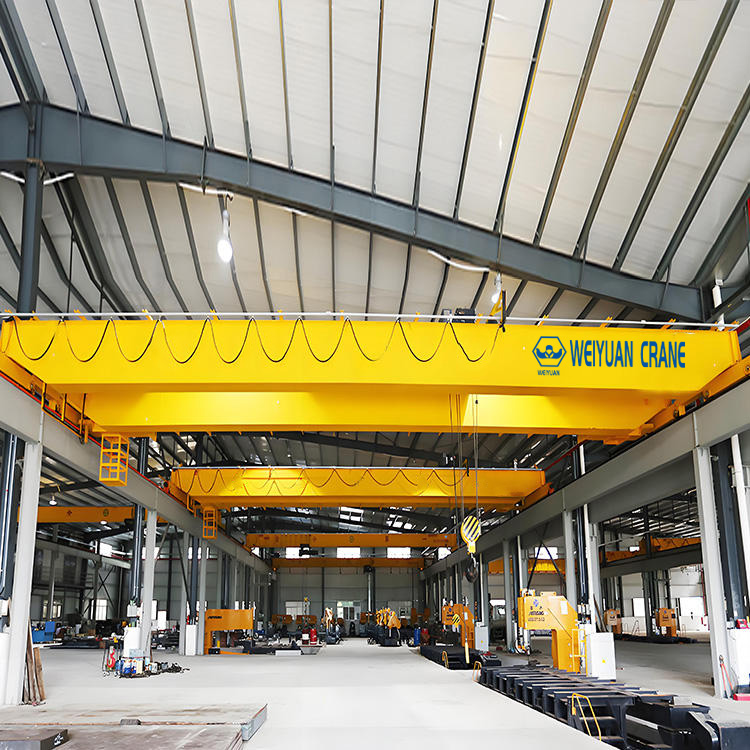
Runway maintenance is light, cheap, and highly effective — when it is scheduled. The tasks are simple; the discipline of doing them on time is what extends runway life. Match the frequency to how hard the crane works, using the CMAA duty class (a rating of load severity and cycle count, from light Class A–B up to severe Class E–F).
The Core Tasks
- Re-torque rail clips and bracket bolts to specification. The single highest-value maintenance task, because loose fasteners drive rail roll, creep, and hammering.
- Clean and lubricate where specified, and clear debris from rail bases and drainage points so water does not pool and corrode.
- Touch up coatings at impact points, weld seams, and any exposed steel before rust takes hold — cheap insurance against corrosion section loss.
- Grind rail joints and defects smooth where a step or spall has developed, before it hammers wheels and spreads.
- Laser geometry re-survey to catch gauge, straightness, and level drift while correction is still a clip-and-shim job.
Intervals by Duty Class
| Task | Class A–C (light) | Class D (heavy) | Class E–F (severe) |
|---|---|---|---|
| Visual inspection | Every 6 months | Quarterly | Monthly |
| Measured inspection (rail wear, clip torque) | Annually | Every 6 months | Quarterly |
| Re-torque clips and bolts | Annually | Every 6 months | Quarterly |
| Coating touch-up | As needed, checked annually | Annually | Every 6 months |
| Weld crack testing (NDT) | Every 3–5 years | Every 2 years | Annually |
| Full laser geometry re-survey | Every 3 years | Every 2 years | Annually |
These align with the periodic inspection required under ASME B30.2, with harsher duty pushing every interval toward the more frequent end. The practical takeaway: the whole program above costs a small fraction of one unplanned runway failure. Under-spending on it is not a saving — it is a deferred, larger bill.
Part 4: Retrofit vs Replace — A Decision Framework
At some point every aging runway forces the question: keep spending on it, or replace it? Made on gut feel, this decision goes wrong in both directions — money wasted patching a runway that is finished, or a serviceable runway scrapped years early. Made on evidence, it is straightforward.
The Three Questions That Decide It
Run the runway through these in order:
- Is the base steel sound? If the beam’s structural section is intact — no significant corrosion loss, no through-thickness fatigue cracks in the main member — the runway is a retrofit candidate. If the beam itself has lost measurable section or has cracks running through the web or flange, replacement moves to the front.
- Are the faults in the wear items or in the structure? Worn rail, loose clips, tired brackets, and surface corrosion are all wear items — replaceable without touching the beam. Deterioration in the beam itself is structural, and structural problems are far more expensive to fix.
- Does the runway still suit the crane it now carries? A runway that was adequate for the original crane may be undersized for a heavier replacement or a higher duty. If the demand has changed, the question shifts from “repair or replace” to “reinforce or replace.”
The Cost Logic
The economics usually favor retrofit by a wide margin. Replacing rail, upgrading clips, or renewing brackets typically costs 20–50% of a full runway replacement, and much of it can be done in planned shutdowns rather than one long outage. Reinforcing a sound beam costs more — often 40–70% of replacement — and the case for it weakens as it climbs toward replacement cost.
The tipping point is simple: when the retrofit cost approaches roughly 60–70% of replacement cost, replace. Below that, and with sound base steel, retrofit almost always wins on total cost — especially once you count the shorter downtime. Above it, the money is better spent on a new runway that resets the clock on the whole system.
The practical takeaway: sound steel plus worn wear items equals retrofit. Compromised base steel, or a runway outgrown by its crane, tips toward replacement. Put real numbers to both before deciding — the framework turns a judgment call into a costed comparison.
Part 5: Retrofit Options
When the framework points to retrofit, the specific work depends on what the inspection found. These are the main options, from the lightest and cheapest to the most involved.
Rail Replacement
The most common runway retrofit. The rail is the wear item that meets the wheel, so it wears out first — and on a clipped runway it can be replaced without touching the beam.
Swap worn rail for new rail matched to the current wheel loads (heavier crane, heavier rail — see Article 1). If the crane duty has increased, this is the moment to step the rail up a size. Clipped rail makes this a planned, section-by-section job; welded rail makes it a cutting-and-grinding exercise, which is one more reason to specify clips on any future runway.
Clip Upgrades
Cheap, fast, and high-impact. Replacing worn or inadequate rail clips with modern adjustable clips does two things at once: it re-secures the rail against roll and creep, and it restores the ability to fine-tune gauge and straightness. On a runway suffering rail roll or repeated clip loosening, a clip upgrade often solves the root cause for a small fraction of any larger repair.
Bracket Replacement
The brackets carry the crane load into the building. Aged, corroded, or under-sized brackets can be renewed without replacing the runway beam — restoring the connection’s strength and, with shimmable or slotted brackets, the ability to re-level the runway. This is the right retrofit when the beam is sound but the connections have deteriorated or were undersized for the current crane.
Beam Reinforcement
The heaviest retrofit, reserved for when the beam itself needs more capacity — typically because a heavier crane or higher duty now runs on it. Reinforcement adds steel to the existing beam (welded cover plates, additional web stiffeners, or a strengthening section) to raise its strength and, importantly, its stiffness against deflection. It is engineering-intensive and must be designed and verified — but on a sound beam it can still cost well below replacement while upgrading the runway’s capacity. Where a heavier crane is the driver, this is often paired with rail and clip upgrades to bring the whole running surface up to the new duty.
The practical takeaway: most retrofits are rail, clip, and bracket work — light, quick, and cheap. Beam reinforcement is the exception, justified mainly when the crane has grown heavier than the runway was built for. Match the retrofit to what the inspection found, and you spend only where the runway actually needs it.
Part 6: 2026 Price Reference
Indicative 2026 figures to help you budget inspection, retrofit, and replacement. Actual costs vary with runway length, capacity, access, and downtime constraints — but the relationships between them are what drive the retrofit-versus-replace decision.
Inspection Services
| Service | Scope | Indicative 2026 cost (USD) |
|---|---|---|
| Visual runway inspection | Walk-along condition survey with report | $600 – $2,200 |
| Measured inspection | Rail wear, clip torque, geometry check | $1,500 – $4,500 |
| NDT weld crack testing | Dye-penetrant / magnetic-particle at key welds | $1,200 – $5,000 |
| Ultrasonic thickness survey | Corrosion section-loss measurement | $1,000 – $4,000 |
| Full condition assessment | Combined survey with retrofit/replace recommendation | $3,500 – $10,000 |
Retrofit Work (per side, indicative, standard indoor runway)
| Retrofit | Scope | Indicative cost vs replacement |
|---|---|---|
| Clip upgrade | Replace clips with adjustable type | 5 – 15% of replacement |
| Rail replacement | New rail matched to wheel loads | 20 – 40% of replacement |
| Bracket replacement | Renew connection brackets | 15 – 35% of replacement |
| Beam reinforcement | Add steel for capacity/stiffness | 40 – 70% of replacement |
Replacement (per linear metre, supplied and installed, per side)
| Runway configuration | Indicative 2026 cost per linear metre (USD) |
|---|---|
| Light — small top-running | $200 – $360 |
| Medium — standard top-running | $340 – $650 |
| Heavy — high-duty top-running | $600 – $1,100 |
| Severe — Class E–F / plate girder | $1,000 – $1,950 |
Budget Notes
- Inspection is the cheapest line in the table and prevents the most expensive. A full condition assessment costs less than one unplanned failure and tells you exactly where you sit on the retrofit-versus-replace line.
- Clip and rail retrofits deliver the best return. They address the most common faults at a small fraction of replacement cost, and they can be scheduled into planned shutdowns to protect equipment uptime.
- Cost the downtime, not just the parts. A retrofit done in staged shutdowns often beats a replacement not because the parts are cheaper, but because the crane keeps earning while the work happens in stages.
Frequently Asked Questions
Q: How do I tell if my runway is genuinely at end of life, or just needs a retrofit?
A: The deciding factor is the condition of the base steel — the beam itself — not the wear items on top of it. Worn rail, loose clips, tired brackets, and surface rust are all replaceable without touching the beam, so a runway with those faults is almost always a retrofit candidate, not a scrap one. A runway reaches genuine end of life when the beam has lost measurable section thickness to corrosion, or has fatigue cracks running through the web or flange, or is simply too small for the crane now demanded of it and cannot be economically reinforced. Confirm which situation you are in with a full condition assessment: ultrasonic thickness testing for corrosion loss, NDT for cracks, and a laser survey for geometry. If the steel is sound, retrofit; if the steel is compromised, replace. Do not condemn a runway on the appearance of worn rail alone — that is the cheapest part to renew.
Q: Can I upgrade an existing runway to carry a heavier crane, or do I need a new one?
A: Often you can upgrade it, but only after an engineering check — never assume it. A heavier crane means higher wheel loads, greater side-thrust, and more fatigue demand, and all three have to be verified against the existing beam, brackets, and building structure. If the existing beam has enough strength and stiffness reserve, the upgrade may be as simple as heavier rail and stronger clips to handle the new wheel loads. If the beam is close to its limit, beam reinforcement — added cover plates or stiffeners — can raise its capacity while still costing well below a full replacement. If the beam is already fully utilized, or the building structure cannot take the higher loads, replacement is the safer route. The essential step is the same in every case: have the heavier crane’s loads checked against the runway and the building before committing, so you buy the upgrade that actually matches the new duty rather than discovering the shortfall after the crane is running.
Q: How often should I inspect an in-service runway?
A: Match the frequency to the crane’s duty class. For light-duty runways (CMAA Class A–C), a visual inspection every six months and a measured inspection annually is usually enough. For heavy production duty (Class D), move to quarterly visual checks and a measured inspection every six months. For severe, near-continuous duty (Class E–F), inspect visually every month and take measurements quarterly, with annual crack testing at the key welds. Bring any inspection forward if you see warning signs between scheduled dates — rising wheel-flange wear, the bridge crabbing as it travels, a rail visibly leaning, or rust weeping from a weld. The point of the schedule is to catch deterioration while the fix is still a clip re-torque or a rail swap, not a structural repair. Recording each inspection so you can trend the readings is what turns the schedule from a compliance task into a genuine planning tool.