


Electric Hoist Maintenance Guide: Inspection Checklists, Failure Points, and Compliance
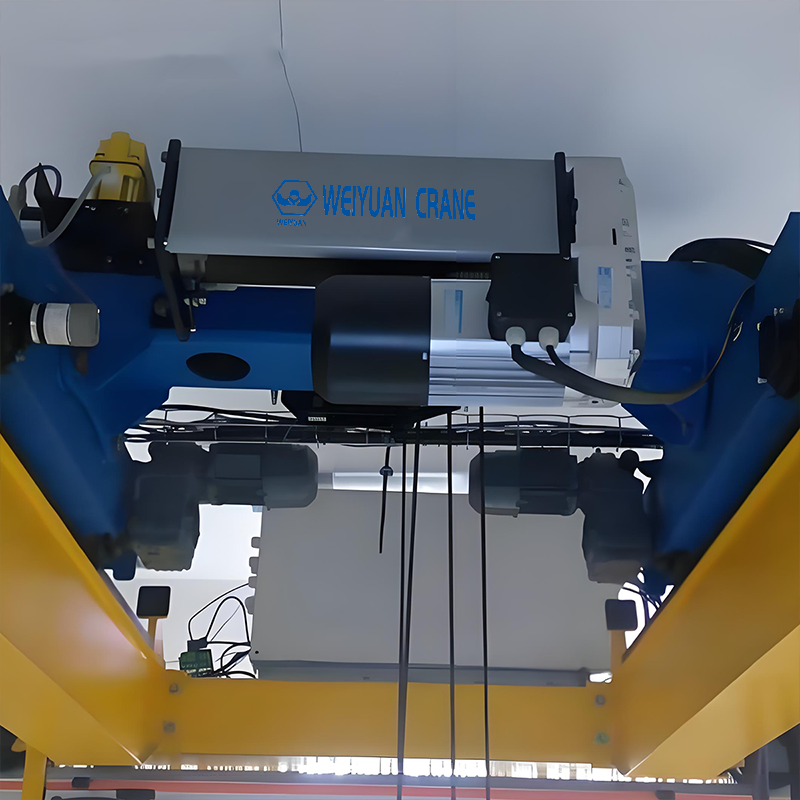
Introduction
An electric hoist rarely fails all at once. It fails after weeks of small, ignored warnings—a few broken wire strands, a brake that drifts a little further each week, a motor running just a bit too hot. By the time the load slips or the hoist seizes mid-lift, the damage was preventable long before.
That gap between “preventable” and “prevented” is where maintenance earns its return. The hoist is a small component that carries an outsized share of your lifting risk. It is the one part that actually holds the load in the air—so when it fails, the load comes down, often onto equipment or people below. A single hoist failure can stop a production line, damage a valuable part, and turn a routine shift into a safety incident and a budget crisis.
This guide gives you a practical maintenance framework built specifically for electric hoists. You will get a tiered inspection checklist split into daily, monthly, and annual intervals, a breakdown of the five failure points that cause most serious problems, a clear view of OSHA and ASME compliance, and proven tips to stretch service life. Whether you run one hoist on a jib crane or a fleet across an overhead crane system, this is the framework that keeps them safe, compliant, and productive.
Why Electric Hoist Maintenance Matters
Maintenance is not a cost to squeeze. It is an investment that protects three things every facility owner cares about: safety, uptime, and capital.
Safety comes first. The hoist is the single component holding the load above the floor. A failed brake, a snapped rope, a stretched hook, or a motor that overheats and quits mid-cycle can drop a load onto equipment or a person standing below. Regular inspection catches these risks before anyone gets hurt.
Uptime protects your schedule. The hoist is the working heart of any lifting system. When it goes down, the whole crane goes down with it—and the work backs up behind it. Planned maintenance shifts repairs from surprise breakdowns to scheduled service windows, keeping production flowing and delivery promises intact.
Capital preservation stretches the return. A well-built electric hoist can serve many years of reliable duty. Neglect cuts that hard, forcing early replacement of the rope, the motor, or the whole unit. Consistent care protects the money you already invested.
There is also a compliance dimension. Regulators require documented inspection and maintenance for powered lifting equipment. A failed audit or a recorded incident brings fines and liability that dwarf the cost of doing the work properly.
Takeaway: Maintenance is always cheaper than failure—and on a hoist, failure means the load stops holding.
The Electric Hoist Inspection Checklist
Effective inspection follows a tiered schedule. Quick, frequent checks catch obvious faults early. Deeper periodic inspections uncover wear that builds slowly. Here is how to structure each level for an electric hoist specifically.
Daily (Pre-Shift) Inspections
These are visual and functional checks the operator performs before each shift. They take minutes and prevent the most common causes of sudden failure.
- Hoist function: Run the hoist up and down through part of its range. Confirm smooth, correct response with no grinding, hesitation, or unusual noise.
- Emergency stop: Confirm the e-stop halts all motion instantly.
- Wire rope or load chain: Look for kinks, broken wires, corrosion, twisting, or flattening. On chain hoists, check for stretch, gouging, and clean feed over the sprocket. Confirm the rope spools correctly on the drum.
- Hook and latch: Inspect for deformation, cracks, twist, and a working safety latch.
- Brake: Verify the load holds without drift when suspended and stops promptly when the control is released.
- Limit switches: Confirm the upper and lower travel limits stop motion at the correct points.
- Controls: Test the pendant or remote for correct, responsive operation of every function.
- General condition: Scan for oil leaks, loose fasteners, damaged cables, and any unusual heat, noise, or vibration.
Log every daily check. A simple pre-shift log builds a paper trail and flags recurring issues before they escalate.
Monthly (Periodic) Inspections
Monthly checks go deeper and should be done by trained maintenance staff. They target components that wear over weeks rather than hours.
- Wire rope detail: Measure diameter for reduction, count broken wires per lay length, and inspect end connections, sockets, and terminations.
- Load chain detail: Measure chain stretch over a set number of links against the manufacturer’s limit, and inspect link contact points for wear and gouging.
- Hook measurement: Check the throat opening against the manufacturer’s spec for stretch, and inspect for twist.
- Brake wear: Inspect linings or discs for thickness, confirm correct adjustment, and check the brake holds rated load without creep.
- Motor and gearbox: Check for abnormal heat, listen for gear noise, verify oil level, and look for leaks around seals.
- Limit switch mechanism: Confirm the geared or lever limit switch trips reliably and repeatably at the set positions.
- Electrical: Examine the pendant cable, festoon or conductor supply, contactors, and control connections for wear, heat, or loose terminals.
- Fasteners and mounting: Check the hoist suspension, trolley connection, and drum or sprocket fasteners for tightness.
Annual (Comprehensive) Inspections
The annual inspection is a thorough, documented examination—often carried out or verified by a qualified third-party inspector. It combines everything above with deeper mechanical and electrical assessment.
- Full rope or chain survey: Assess the entire length against the discard criteria in the applicable standard, including the sections that rarely leave the drum or sprocket.
- Brake teardown assessment: Inspect brake components in detail, measure wear against tolerance, and verify holding torque.
- Motor assessment: Test insulation resistance, check bearings for wear and noise, and confirm cooling and ventilation are unobstructed.
- Gearbox inspection: Check gear wear, backlash, and oil condition against the manufacturer’s tolerances.
- Structural and hook NDT: Use magnetic particle or dye-penetrant testing on the hook and any highly stressed load-bearing components to find cracks the eye cannot see.
- Load testing: Where required, perform a rated or proof load test to verify capacity and brake holding.
- Full electrical audit: Test grounding, insulation, and the integrity of every control and safety circuit, including limit switch cutouts.
- Documentation review: Confirm daily and monthly logs are complete and that prior corrective actions were closed out.
Keep every annual report on file. This record is your main evidence of compliance and a valuable history for planning future work.
Takeaway: Match inspection depth to failure speed—check fast-wearing items daily, slow-developing risks annually.
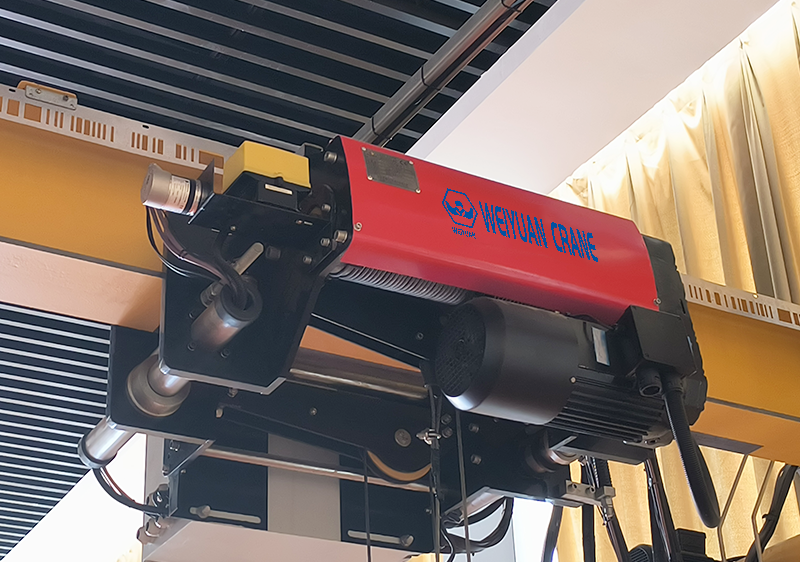
The 5 Most Common Electric Hoist Failure Points
Knowing where hoists typically fail lets you aim inspection effort where it matters. These five areas account for the majority of serious problems.
1. Wire Rope and Load Chain
The rope or chain carries the load directly, making it the single most safety-critical component on the hoist. Wire rope degrades through broken wires, corrosion, diameter reduction, kinking, and crushing. Load chain wears at the link contact points and stretches over time.
Replace rope or chain the moment it reaches the discard criteria in the standard—there is no safe margin for delay here. Also confirm the rope spools cleanly on the drum without cross-winding, and that the chain feeds smoothly over the sprocket without twisting. A twisted chain or a rope jumping its groove is a warning to act now, not later.
2. Brakes
The brake holds the load when power stops and controls lowering. Worn linings, poor adjustment, oil or moisture contamination, and weak springs all cut braking force. A brake that lets a suspended load drift is a clear signal to take the hoist out of service until repaired.
Because the brake is what keeps a raised load from falling, it deserves close, consistent attention. Test brake holding under load during every daily check, and measure lining wear against tolerance during periodic inspections. Do not wait for drift to become obvious—by then the margin is already gone.
3. Limit Switches
The upper and lower limit switches stop the hook at the top and bottom of its travel. When they fail, the consequences are severe: an over-travel at the top can two-block the hoist—driving the hook block into the drum—and snap the rope, dropping whatever is attached. A failed lower limit can unspool the drum entirely.
Limit switches fail from worn contacts, loose linkages, a drifting set point, or a seized geared mechanism. Test both limits during daily checks and confirm they trip reliably and repeatably during periodic inspections. A limit switch is a safety device, so treat any uncertain trip as an immediate fault.
4. Motor Overheating
The hoist motor overheats when it works beyond its duty rating, when cooling airflow is blocked, or when the operator inches and jogs the load excessively. Sustained overheating breaks down the winding insulation, and once that insulation fails, the motor burns out—often taking the hoist out of service for days.
Watch for a motor running hotter than normal, a burning smell, or a hoist that trips its overload protection repeatedly. Keep the motor’s cooling surfaces clean and unobstructed, and confirm the hoist’s duty class actually matches how hard it is being cycled. A motor working past its rating is a slow-motion failure you can prevent by right-sizing the duty class from the start.
5. Hook Deformation
The hook carries the load directly, so any weakness here is critical. Overloading, side-loading, and shock loads stretch the throat opening, twist the hook, and start cracks—often at the neck or the load-bearing saddle. A damaged or missing safety latch is an immediate red flag.
Measure the throat opening against the manufacturer’s spec during periodic checks. Once stretch or twist exceeds the discard limit, replace the hook without delay—a stretched hook has already been overloaded and will not recover. Never grind out a crack or straighten a bent hook; retire it.
Takeaway: Most of these faults develop gradually—which is exactly why scheduled inspection stops them from becoming a dropped load.